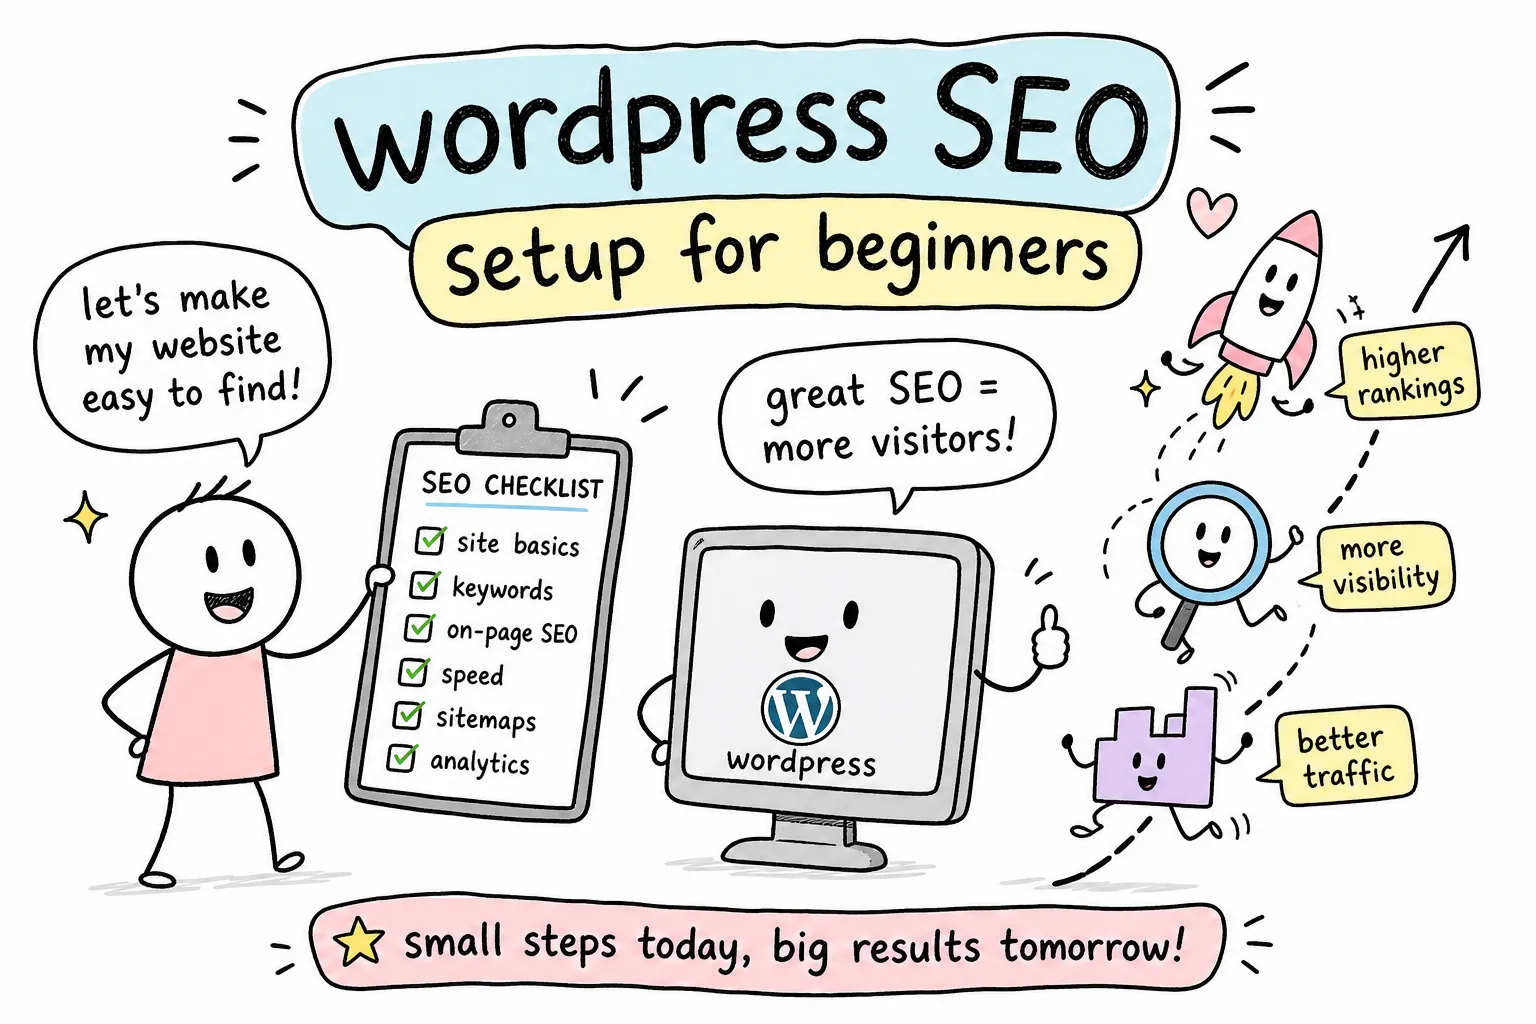
If you’ve ever asked yourself, “How do I set up SEO on a WordPress website for beginners?”, you’re not alone. Your WordPress site is live, but Google has no idea it exists. Many new site owners find themselves in exactly this position after launch: the theme looks great, a few posts are published, and then… nothing. No traffic, no rankings, no visibility. The SEO foundation was never built.
At AISEO Round Table, that question is the one we hear most from new site owners: how do I get my WordPress site ready for search without hiring someone or burning a weekend reading documentation? For a brand-new site with no prior configuration, the answer is a six-step checklist you can often complete in under an hour. No technical background required. This guide walks you through how to set up SEO on a WordPress website for beginners, covering both Yoast SEO and Rank Math so you can pick the plugin that fits your workflow.
How do I set up SEO on a WordPress website for beginners: step by step
Before diving into each step, here’s why order matters. Technical setup, plugins, permalinks, sitemaps, crawlability, has to come first. Trying to do keyword research or publish content before these foundations exist means your pages may never be properly indexed. Work through these six steps in sequence and you’ll have a fully functional SEO foundation by the end. For a quick reference you can also consult our Technical SEO Checklist for Beginners, AISEO Round Table.
1. Install and configure your WordPress SEO plugin
The first step in any WordPress SEO setup for beginners is installing an SEO plugin. While modern WordPress (version 5.5 and later) does include basic title-tag handling and a native XML sitemap at /wp-sitemap.xml, a dedicated SEO plugin gives you fuller, easier control over meta descriptions, advanced schema markup, sitemap customization, and on-page guidance that core WordPress simply doesn’t provide. If you prefer a lightweight automated option, consider Slim SEO, A Fast & Automated SEO Plugin For WordPress, AISEO Round Table.
Yoast SEO vs. Rank Math: which one should you pick?
Yoast SEO uses a clean traffic-light feedback system, red, orange, green, that tells you at a glance how your content is performing against a focus keyword. It has a longer track record and a familiar feel for beginners. Rank Math offers more features in its free version, including multiple focus keywords, built-in schema tools, and a 0, 100 content score. Both are solid choices. Here’s a simple decision rule: if you want the most guided, low-pressure experience, pick Yoast. If you want more tools without paying for an upgrade, pick Rank Math. Switching later is possible but involves extra steps, so pick one and commit. If you need help installing Yoast, see the Yoast installation guide.
Running the first-time setup wizard
After you activate either plugin, a setup wizard launches automatically. Don’t skip it. The wizard handles the most important initial settings in one place. Set your site representation as either a person or an organization, activate the XML sitemap, add your social profile links, and configure indexing defaults for low-value pages. Review the noindex settings for thin pages like date archives and author pages that only have one or two posts. For most small sites crawl budget is not a major concern, but keeping low-value archive pages out of the index prevents index bloat and keeps Google focused on your best content. Completing the wizard properly saves you from hunting through settings menus later.
2. Fix your permalink structure before publishing anything
Permalinks are the URL structure WordPress uses for every page and post. The default format uses numeric IDs, like /?p=123, which gives search engines and users no useful information about the content on that page.
Why post name URLs are the right SEO choice
The recommended structure is /%postname%/, which produces clean, readable URLs like /how-to-bake-sourdough/. That URL gives search engines and users helpful context about the page topic before it’s even crawled. Short, keyword-relevant URLs are also a widely recommended best practice for click-through rate, since users can read them in search results and understand what they’re clicking before committing. This is one setting that becomes significantly harder to fix after you’ve published dozens of posts, because changing it on an established site requires managing redirects across every single URL.
How to change permalinks safely without breaking your site
Go to Settings, then Permalinks, select Post name, and click Save Changes. For a brand-new site with no indexed pages, this change is immediate and completely safe. For a site that already has published and indexed content, changing the permalink structure means every existing URL changes, and Google will encounter 404 errors unless you set up 301 redirects from the old URLs to the new ones. Install a redirect plugin before making this change on any site with existing content. The free Redirection plugin is one common option; Rank Math’s built-in redirect module and server-side redirects are other approaches worth considering. After saving, test a few old URLs to confirm they redirect correctly, then monitor Google Search Console for crawl errors over the next few weeks. For a step-by-step walkthrough on configuring permalinks, see this guide to configuring WordPress permalinks for SEO and usability.
3. Enable your XML sitemap and connect Google Search Console
Getting your site discovered by Google is not automatic. You need to tell Google where your pages are and give it a reason to crawl them. An XML sitemap and Search Console submission handle both.
Turning on the sitemap inside Yoast or Rank Math
Both plugins generate an XML sitemap automatically once the feature is enabled. In Yoast, go to SEO, then Settings, then Site features, and turn XML sitemaps on. The sitemap URL will typically be yoursite.com/sitemap_index.xml. In Rank Math, the sitemap is configured inside the plugin dashboard and is usually located at yoursite.com/sitemap.xml. Open the URL in your browser and confirm it loads and lists your pages and posts correctly. The plugin-generated sitemap is worth using even though WordPress 5.5 and later includes a native sitemap at /wp-sitemap.xml, because the plugin version gives you more control over which content types are included. Learn more about how XML sitemaps work in WordPress at this XML sitemap guide for WordPress.
Submitting your sitemap to Google Search Console step by step
Go to Google Search Console and add your site as a new property. Choose URL prefix if you want to verify one specific version of your site, enter the full URL, and verify ownership using the HTML tag method. Both Yoast and Rank Math have a dedicated field for the Google verification code under their webmaster tools settings. Paste the meta tag, save, and click Verify in Search Console.
Once verified, go to Sitemaps in the left menu, paste your sitemap URL, and click Submit. A “Success” status confirms Google received the sitemap. Use the URL Inspection tool to check whether specific pages are indexed. Submitting your sitemap helps Google discover pages, but it does not guarantee immediate indexing.
4. Apply on-page SEO basics to every post and page
Technical setup gets Google to your site. On-page SEO convinces Google your content is worth ranking. Every post and page needs the same core elements before you hit publish.
Title tags, meta descriptions, and heading structure
Every post needs a unique title tag with the primary topic placed near the front, a meta description under 160 characters that summarizes the page and earns the click, and a single H1 that closely mirrors the title. You set all of these in the SEO plugin panel at the bottom of the WordPress post editor. Duplicate or missing title tags are one of the most common beginner mistakes, and they’re easy to avoid once you build the habit of filling in the plugin panel before every publish. Use H2s for your main sections and H3s for supporting points so the content is easy to scan for both users and search engines.
Image alt text and internal links
Alt text and internal links are frequently overlooked on-page elements, and they both matter. Alt text should be a short, accurate description of what the image shows, not a string of keywords crammed together. A photo of a bar chart comparing keyword difficulty scores should read something like “bar chart comparing keyword difficulty scores across five blog topics,” not “keyword research SEO tool data chart free.”
For internal links, use descriptive anchor text that tells the reader what they’ll find on the linked page. Every new post should link to at least one or two existing posts on your site, this helps Google discover your content and distributes link equity across your pages. When it makes sense, go back and update older posts to link forward to new content as well.
5. Run a quick speed and indexability check
A slow site and a blocked site both fail in search. These two checks take less than ten minutes and can save you weeks of confusion about why nothing is ranking.
Add a caching plugin and enable basic image optimization
Google uses page experience signals, including load time, as a ranking factor. WordPress out of the box is not optimized for speed. Install one caching plugin and enable page caching, browser caching, and lazy loading for images. For a free option, WP Fastest Cache requires minimal configuration and is approachable for beginners. WP-Optimize is another strong free option that includes image compression alongside caching. If you’re willing to invest in performance, WP Rocket is a well-regarded paid solution. Converting images to WebP format is one of the fastest speed wins for mobile performance, and most caching plugins include this option.
Confirm Google can actually crawl your site
WordPress has a built-in toggle under Settings, then Reading, called “Discourage search engines from indexing this site.” When that box is checked, Google and other major search engines will respect the request and won’t index your site, regardless of what your SEO plugin is configured to do. This checkbox is often left on during development and never turned off. Go check it now before moving forward. If you want more background on that setting and why sites are sometimes flagged as non-indexable, see this guide on how to discourage search engines from indexing this WordPress site.
After confirming it’s unchecked, go to Google Search Console and review the Pages or Coverage report to see how many of your URLs are indexed. Use the URL Inspection tool on any page that seems to be missing from search results, it will show you whether Google is blocked by a robots.txt rule, a noindex directive, or another issue.
6. Find your first target keywords now that the foundation is set
There’s no point targeting specific keywords if the technical foundation covered in steps 1 through 5 isn’t in place. Now that all of that is done, the next question becomes content direction.
Why keyword research belongs after technical setup, not before
A new WordPress site needs to go after low-competition, long-tail keywords that a brand-new domain can realistically rank for. Trying to compete for broad terms before your technical foundation exists is like building a house on sand. Start with informational keywords that answer specific questions. As a general heuristic used across many keyword tools, keeping Keyword Difficulty below 30 is a reasonable target for new sites. Publish a handful of well-optimized posts and give them time to gain traction before drawing conclusions about what’s working, new domains typically need weeks or months to see meaningful ranking movement.
Using KWFinder to find beginner-friendly target keywords
KWFinder by Mangools is a beginner-friendly keyword research tool worth considering for new WordPress sites. The interface is clean, the Keyword Difficulty score is easy to interpret, and the built-in SERP preview shows you what’s currently ranking for a given term so you can gauge whether your site can realistically compete. Start with three to five informational keywords with a KD score under 30, build content around those, and layer in more competitive terms as your domain gains authority. AISEO Round Table has published a detailed KWFinder review covering pricing, features, and a step-by-step beginner workflow, it’s the natural next read once you’ve completed this setup checklist.
Your six-step checklist, ready to use
Here’s everything covered in this guide, condensed into a fast reference you can work through on your own site today:
- Install Yoast SEO or Rank Math and complete the first-time setup wizard
- Change your permalink structure to Post name before publishing any content
- Enable your XML sitemap and submit it to Google Search Console
- Apply on-page basics to every post: title tag, meta description, H1, alt text, and internal links
- Install a caching plugin and confirm the “Discourage search engines” toggle is off
- Research your first target keywords using a tool like KWFinder
For a new site with no prior configuration, this entire setup can often be completed in under an hour, and it’s the foundation every other SEO effort builds on. Skip it, and all the content you publish is working at a disadvantage. Complete it once, and you have a site that Google can find, crawl, and rank.
Bookmark this checklist and work through it on your WordPress site today. Whether you’re still asking “how do I set up SEO on a WordPress website for beginners?” or you’re ready to go deeper, the AISEO Round Table blog has dedicated guides on keyword research, on-page optimization, and SEO tool reviews built specifically for bloggers and small site owners doing this without an agency. See our WordPress SEO Tips, Plugins & Optimization Guides for more.