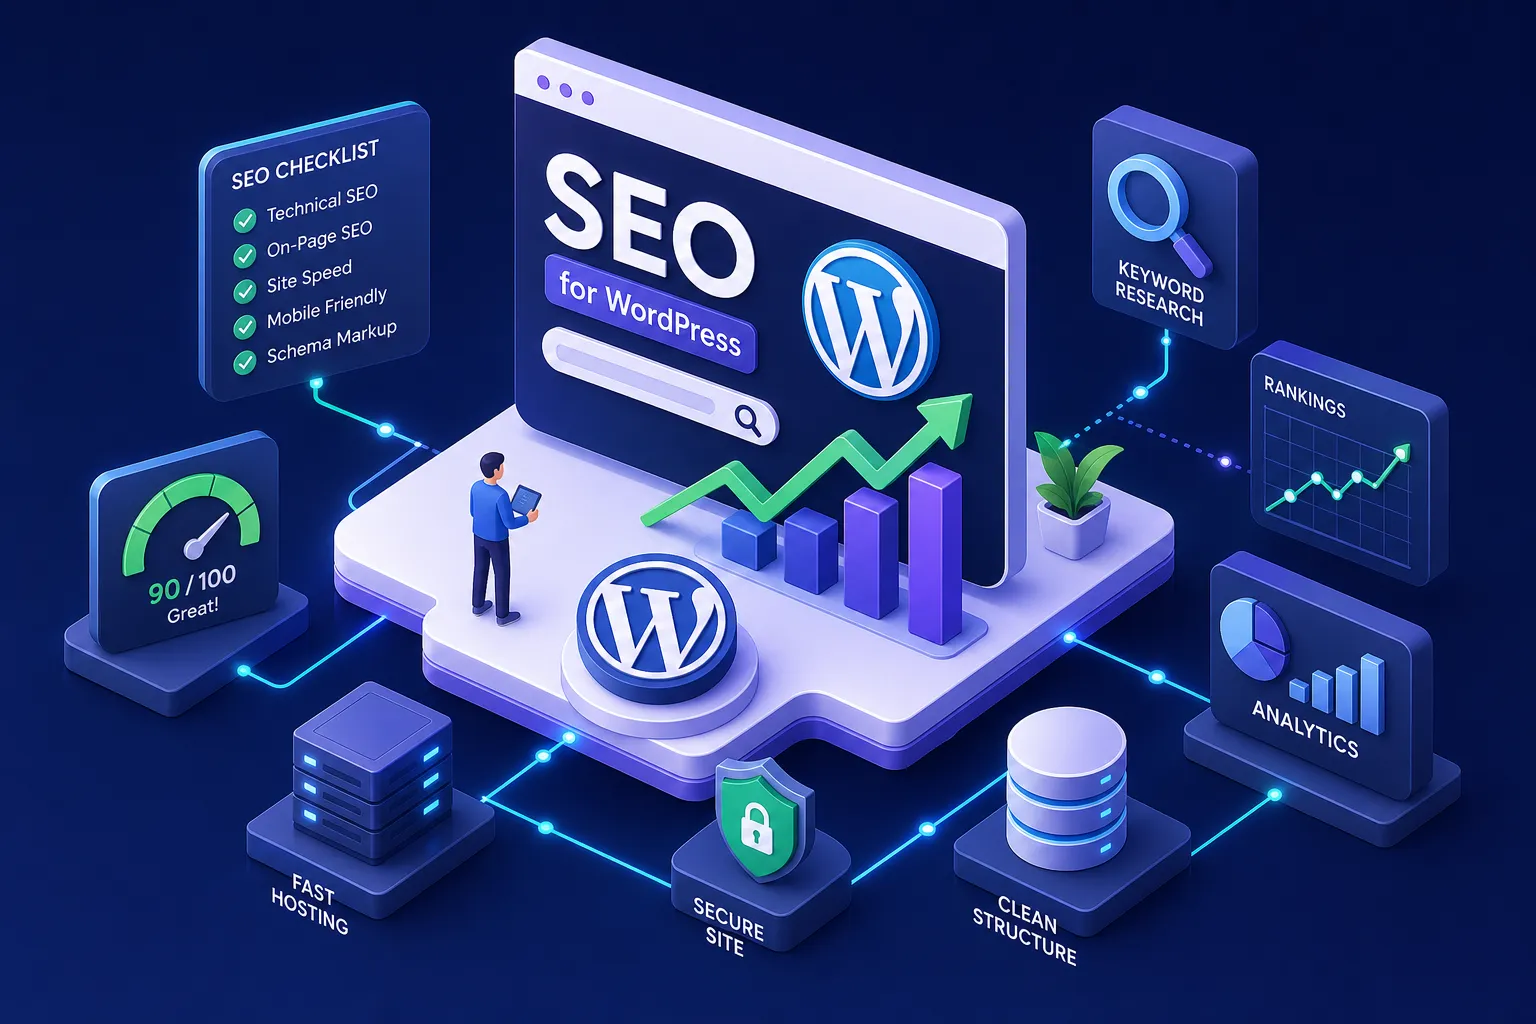
SEO for WordPress sites is more than installing a plugin and watching the progress bar turn green. Many site owners fill in a few fields, call it done, and move on, and that’s understandable. But the plugin is one tool in a larger system, and without the right structure underneath it, even well-written content gets stuck on page three.
WordPress offers extensive SEO control compared with most hosted solutions. You can configure every technical setting, every meta template, every schema type, and every crawl directive. The problem is that most of those levers are hidden inside plugin settings menus, theme options, and server configurations that don’t announce themselves. This guide pulls them all into one place.
At AISEO Round Table, we focus on practical, non-agency SEO built for people running their own sites. This guide covers six areas: plugin setup, site structure, on-page settings, speed, schema markup, and tracking. By the end, you’ll have a prioritized action list and a 90-day plan you can start today.
SEO for WordPress Sites: Choosing and Configuring Your Plugin
Plugin choice matters, but correct configuration is what actually moves the needle. Starting with the right plugin saves time, though, and in 2026, the top options are Rank Math, Yoast SEO, and AIOSEO, each serving a different type of user.
Rank Math is the strongest default choice for most non-agency WordPress users. Its free tier includes advanced schema generation, a 404 monitor, redirect management, and rank tracking, features that other plugins charge for. Yoast SEO is the better pick if you want guided content analysis and a familiar interface that clients or team members can use without training. AIOSEO sits in the middle: easier than Rank Math for many users, more full-featured than a minimalist option, with a solid setup wizard built for non-technical owners.
If you’re a developer or running a privacy-focused setup, SEOPress is worth a look. It’s lean, handles all the core functions, and skips the UI clutter. For speed-focused minimalists, The SEO Framework is highly automated and lightweight. For the typical blogger or small business owner, Rank Math or Yoast will cover everything you need.
Once you’ve installed your plugin, run through the setup wizard completely. Many users configure the site type and homepage settings, then stop there. Don’t. The settings most people miss include: enabling or disabling schema by default for each post type, configuring breadcrumb structure, and setting post type indexing preferences. Make sure your key post types, posts, pages, and categories, are set to indexable, not noindex. Enable webmaster verification codes directly inside the plugin rather than editing theme files, and connect to Google Search Console where the plugin supports it.
Quick configuration checklist
- Complete the full setup wizard, not just the first two screens
- Set schema defaults per post type (Article/BlogPosting for posts)
- Configure breadcrumb structure and enable breadcrumb output
- Verify post, page, and category indexing status
- Connect Google Search Console through the plugin’s webmaster tools field
Getting Your Site Structure Right Before Anything Else
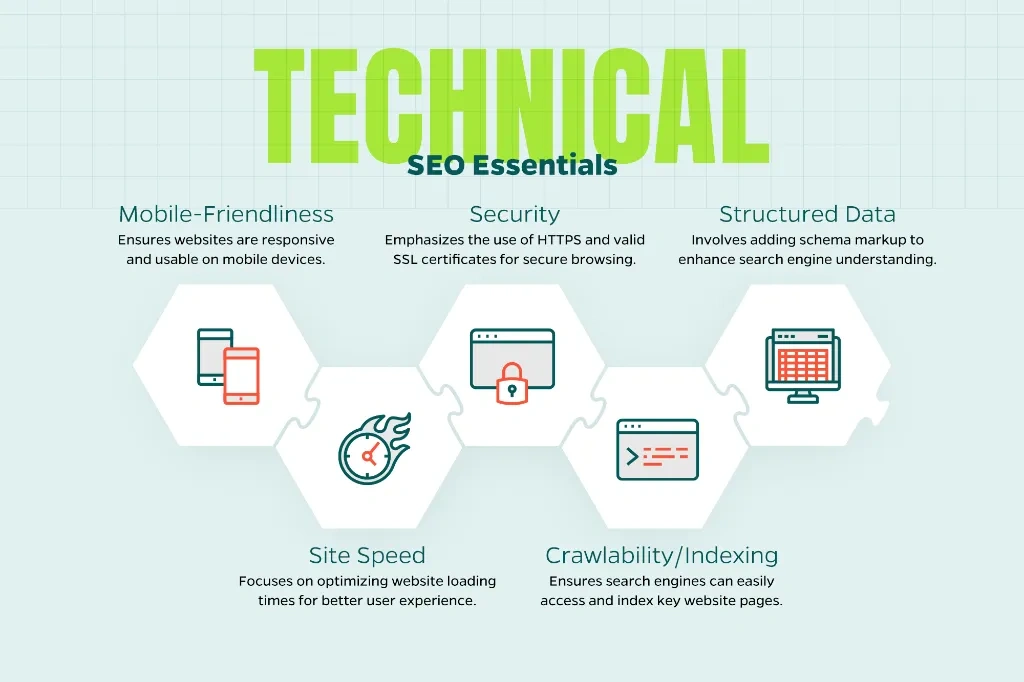
Permalink structure, sitemaps, and canonical tags are WordPress technical SEO settings that most site owners never touch. They should, because these three things determine whether Google can crawl and understand your site at all.
Start with permalink structure. WordPress defaults to plain numeric URLs like /?p=123, which gives Google no useful information about your content. Change this to the “Post name” structure (yourdomain.com/your-post-title/) before you publish anything. If you’re changing permalinks on an existing site, set up 301 redirects from every old URL to the new one first. Without redirects, you’ll have broken links and lost ranking signals. Keep URLs short, lowercase, and descriptive.
Your SEO plugin auto-generates an XML sitemap, but you need to configure what’s in it. The sitemap should only include canonical, indexable URLs. That means excluding redirected pages, noindexed pages, 404s, parameterized URLs, and, for WooCommerce sites, cart, checkout, and account pages. Once the sitemap is clean, submit it in Google Search Console under Indexing, then Sitemaps. For Rank Math, the path is typically sitemap_index.xml. For Yoast, find the sitemap URL in plugin settings and submit that path directly.
WordPress also creates duplicate content by default through archive pages, tag pages, category pages, and pagination. Your SEO plugin handles self-referencing canonicals automatically on indexable pages, but you’ll need to make manual canonical decisions for parameterized URLs, paginated content, and WooCommerce product variations. A practical baseline robots.txt for most WordPress installs blocks /wp-admin/, allows admin-ajax.php, and references the sitemap URL. That’s sufficient for most content sites.
On-Page SEO Settings That Move the Needle
On-page optimization inside WordPress covers three core areas: meta snippets, heading structure, and internal links. Each one affects how Google reads your pages and how searchers decide whether to click.
For meta titles, use a simple formula: primary keyword, qualifier, then your brand name, kept under 60 characters. Note that Google may still rewrite titles at its discretion, but staying under 60 characters reduces the likelihood of truncation. Meta descriptions don’t directly influence rankings, that’s a well-established SEO guideline, but they drive click-through rate. Write each one as a two-sentence pitch that answers what the page covers and why someone should care. Your SEO plugin’s snippet preview approximates how your result will appear in Google before you publish; use it as a guide, knowing that Google can override both titles and descriptions. Avoid letting the plugin auto-generate descriptions from your content; those pull from random paragraphs and rarely make a compelling case for the click.
For headings, treat the H1 as a best-practice anchor: it should contain your primary keyword and appear once per page. H2 and H3 tags should use semantic variations and related phrases rather than repeating the same keyword. For images, write alt text that describes what’s actually in the image, specifically enough to be useful for accessibility and image search. “SEO dashboard screenshot” is better than “image1.”
Internal links are where many WordPress sites leave ranking power on the table. When you publish a new post, add multiple relevant links to related existing posts to build the topic clusters that help Google understand your site’s authority on a subject. As a practical starting point, aim for at least two or three internal links per post, though the right number depends on post length and how much related content you have.
If you’re not sure which pages to optimize first, pair this work with keyword research. Tools like Mangools pair naturally with a WordPress workflow: KWFinder handles keyword targeting by difficulty and search volume, and SERPChecker shows exactly what you’re competing against before you spend time writing a post. The full Mangools review on AISEO Round Table walks through how to use both tools together in a content planning workflow. The point is simple: research before you write, so every post you publish has a real shot at ranking.
SEO for WordPress Sites: Speed and Core Web Vitals
Core Web Vitals directly affect how Google evaluates user experience, and WordPress sites are especially vulnerable to speed problems because of theme bloat, plugin overhead, and unoptimized images. The highest-impact fixes are also the most actionable, and that’s where to start.
Caching setup
Start with page caching. It’s the single biggest performance lever available to WordPress users, dramatically reducing server load and time-to-first-byte. WP Rocket is the most polished option for most setups. LiteSpeed Cache is the better choice if your host runs LiteSpeed. W3 Total Cache works across more environments. Whichever plugin you use, confirm that cache hits are working for anonymous visitors before moving on.
Image optimization
Convert images to WebP format using a plugin like ShortPixel or Smush, and resize every image to its actual display dimensions before uploading. Don’t upload a 3,000-pixel-wide file for a hero image that renders at 1,200 pixels. Keep above-the-fold hero images around 200 to 300 KB. Add explicit width and height attributes to every image to prevent layout shift. One critical step that’s easy to overlook: the LCP image, your above-the-fold hero, should never have lazy loading applied. Preload it so it loads as a priority.
CDN and hosting
Server response time sets a ceiling no plugin can lift. Slow TTFB directly caps your LCP score, regardless of what else you optimize. A CDN helps by delivering static assets from servers closer to your visitors, which matters most when your audience is geographically spread out. After caching and image fixes are in place, work on inlining critical CSS for above-the-fold content and deferring non-critical JavaScript. That order matters: caching first, LCP image next, then CDN, then CSS/JS optimization.
Adding Schema Markup Without Touching Code
Structured data helps Google understand what type of content is on each page and makes your results eligible for rich features like FAQ dropdowns and breadcrumb trails. For WordPress users, the answer is straightforward: you don’t need to write any code to implement it correctly.
Use Article schema, specifically BlogPosting, which is a subtype of Article and the more accurate label for blog content, on your posts. Use FAQ schema only on pages that actually display a question-and-answer section. Avoid adding it just to chase rich results; Google’s guidelines warn against using FAQ schema on content that doesn’t genuinely contain Q&A, and doing so risks losing the rich result treatment entirely. Breadcrumb schema applies sitewide on any site with clear category hierarchy. It helps both users and Google understand where a page sits within your site structure.
Rank Math, for example, lets you enable BlogPosting schema directly from the post editor under the Schema tab, no code required. Yoast and AIOSEO handle Article, FAQ, and Breadcrumb schema through their own settings panels in the same way. Manual JSON-LD gives you more granular control but creates ongoing maintenance overhead across hundreds of posts. For most WordPress users, the plugin method is faster, less error-prone, and easier to update when Google’s requirements change.
One rule to follow strictly: pick one schema source and stick with it. Running two plugins that both output schema on the same page creates conflicting markup. After your initial setup, validate each template type using Google’s Rich Results Test, and monitor the Enhancements section in Google Search Console for warnings. Re-validate after theme updates or major plugin changes.
Tracking Your Gains and Your 90-Day SEO Plan
Optimization without measurement is guesswork. Google Search Console is the baseline tool every WordPress site should have connected from day one. Verify ownership through your SEO plugin’s webmaster tools field to avoid editing theme files manually.
Check GSC weekly for crawl errors, indexed page count, Core Web Vitals status, and any manual actions. Monthly, review your top queries by impressions and clicks. The highest-priority optimization targets are pages with high impressions but low click-through rate, those pages are showing up in Google but not earning the click. Rewriting their meta descriptions is usually the fastest win.
On-page work is only as strong as the keyword strategy behind it. Tools like Mangools pair naturally with a WordPress workflow: KWFinder handles keyword targeting by difficulty and search volume, and SERPChecker shows exactly what you’re competing against before you spend time writing a post. The full Mangools review on AISEO Round Table walks through how to use both tools together in a content planning workflow. The point is simple: research before you write, so every post you publish has a real shot at ranking.
Here’s a simple 90-day roadmap to implement everything in this guide:
- Days 1, 30: Plugin setup, permalink structure, robots.txt, sitemap submission to GSC, meta titles and descriptions for your top 10 pages.
- Days 31, 60: Image optimization and WebP conversion, caching setup, schema markup on post and page templates, internal linking audit across your existing content.
- Days 61, 90: Core Web Vitals review in GSC, analysis of top queries, meta description rewrites for low-CTR pages, two new keyword-targeted posts using rank tracking data.
Start With the Fundamentals and Build From There
Optimizing a WordPress site for search is not a one-time setup. Each fix compounds on the last, and the sites that rank consistently are the ones where plugin configuration, site structure, on-page settings, speed, schema, and tracking work together as a system rather than a checklist of disconnected tasks.
The 90-day plan above is designed to be implemented without an agency, without a developer, and without a big budget. You handle the plugin settings, the permalink structure, the image compression, and the keyword research yourself, with the right tools guiding each step.
When you prioritize these fundamentals, SEO for WordPress sites becomes a repeatable, measurable process rather than a source of guesswork. Bookmark AISEO Round Table for the follow-up guides in this series, including our KWFinder workflow tutorial, the SERPChecker deep-dive, and our full WordPress SEO audit checklist. The fundamentals you build here support every SEO effort that follows.