You publish a blog post, share it on social media, and wait. Days pass. You check Google Analytics and see a trickle of traffic, but you have no idea whether Google even knows the page exists. That’s the gap Google Search Console fills. If you’ve ever wondered how to use Search Console to confirm Google can find your pages, this guide walks you through the setup, reports, and fixes you need. It’s a free tool built by Google that gives you a direct line into how the search engine sees, crawls, and ranks your site, data you simply can’t get from Analytics alone.
This guide is part of AISEO Round Table’s ongoing series on free and affordable SEO tools for bloggers, freelance SEOs, affiliate marketers, and small business owners who want professional-level results without agency fees. By the end of this walkthrough, you’ll know how to set up your property, read the reports that actually matter, fix the most common indexing errors, and turn raw data into a list of prioritized SEO actions.
1. How to Use Search Console: Add and Verify Your Site
Before any data flows, you need to add your site as a property and prove you own it. Search Console gives you two property types to choose from, and picking the right one saves you a lot of confusion later.
Domain vs. URL-prefix: which property type to choose
A domain property covers everything under your domain automatically: all subdomains, both HTTP and HTTPS versions, and any path. Verifying example.com means you’re tracking www.example.com, blog.example.com, and every protocol variant under one roof. A URL-prefix property, on the other hand, covers only the exact address you enter, such as https://www.example.com/.
For most bloggers and small business owners, a domain property is the right call. It gives you a complete picture of your site without juggling multiple properties. The only catch is that domain properties require DNS verification, so you’ll need access to your domain registrar (GoDaddy, Namecheap, Cloudflare, etc.) to add a TXT record.
Step-by-step: verifying ownership
Follow these steps to complete DNS verification for a domain property:
- Log in to Google Search Console and click “Add property.”
- Select “Domain” and enter your domain without any protocol or prefix.
- Google will display a DNS TXT record value, copy it.
- Open your domain registrar’s DNS settings panel.
- Add a new TXT record and paste the value Google provided.
- Save the record and return to Search Console.
- Click “Verify.” DNS changes vary by registrar and can take anywhere from a few minutes to several hours to propagate.
If you choose a URL-prefix property instead, you have additional verification options: uploading an HTML file to your site’s root directory, adding an HTML meta tag to your homepage’s section, or connecting through Google Analytics. All methods work; DNS is just the most reliable for domain-level properties. If you need platform-specific, step-by-step instructions for common CMS setups, WP Engine provides a useful guide to integrating WordPress with Google Search Console that walks through the verification options and typical gotchas: WordPress and Google Search Console.
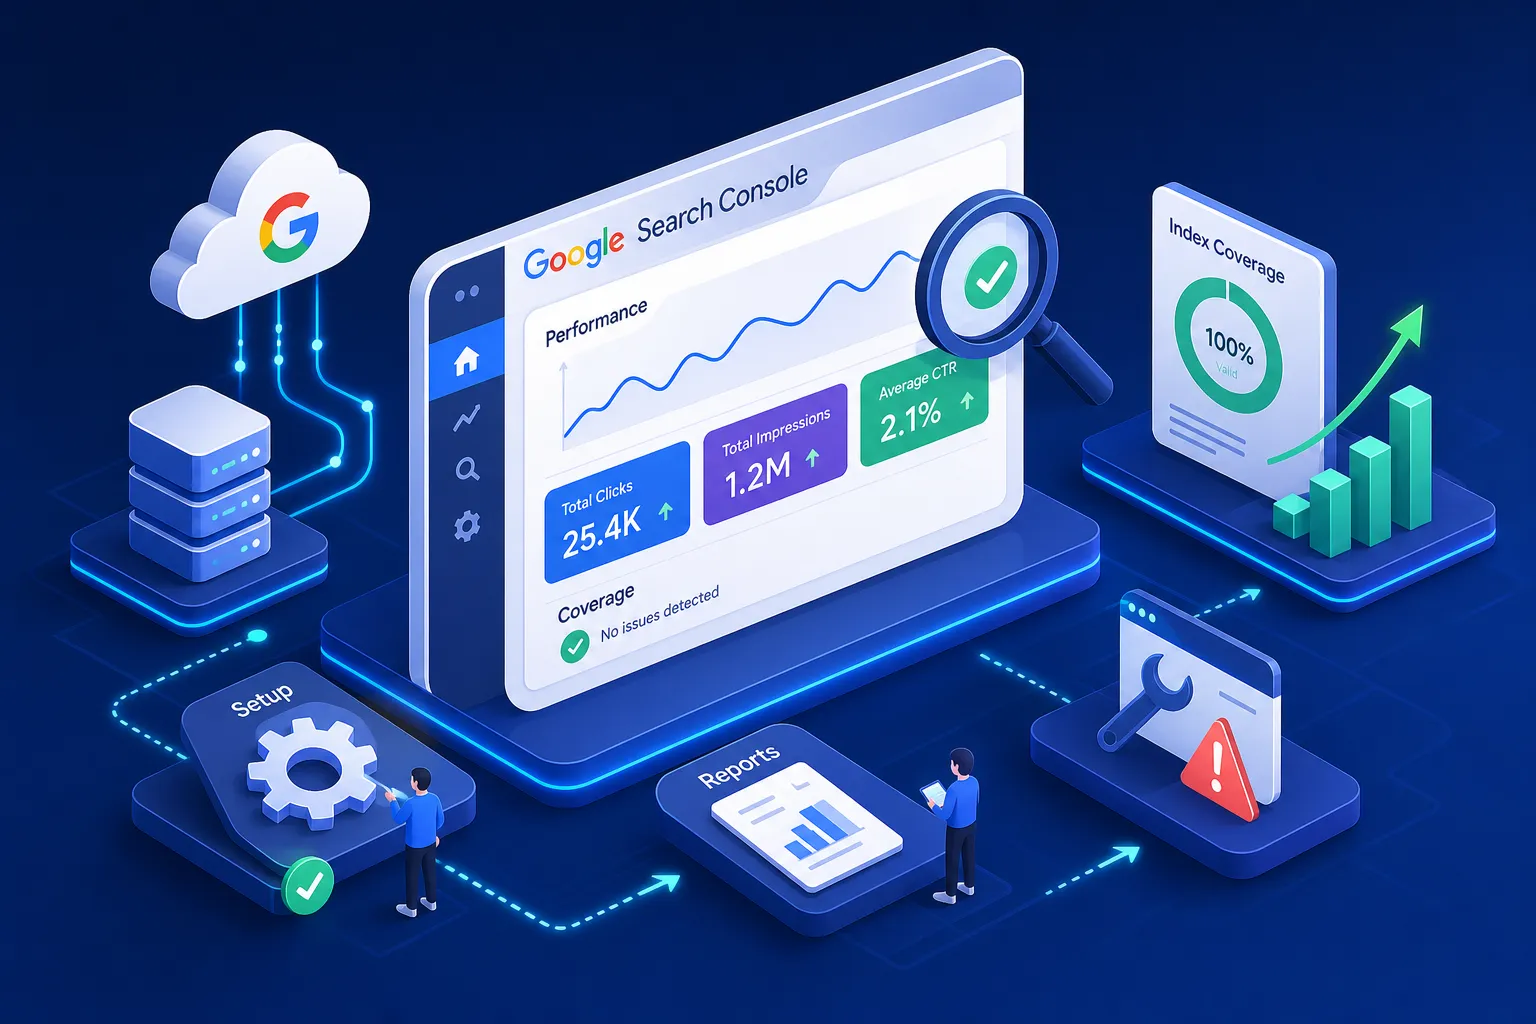
2. How to Use Search Console’s Performance Report
The Performance report is the first place most people look, and it’s also where most beginners misread the numbers. Understanding what each metric actually tells you changes how you act on the data.
Clicks, impressions, CTR, and average position explained
Clicks are the real visits that came from Google Search. Impressions are how many times your pages showed up in search results, even if nobody clicked. CTR (click-through rate) is the ratio between the two: clicks divided by impressions. Average position is your typical ranking across all the queries you appear for, and lower numbers are better because position 1 beats position 10.
The mistake most beginners make is celebrating high impression numbers without looking at CTR. A page with 5,000 impressions and 50 clicks has a 1% CTR. Google is showing you. Users just aren’t choosing you. That’s a completely different problem than low impressions, and it needs a completely different fix.
How to filter by page and query to find your best opportunities
Click “Pages” in the Performance report to see which URLs drive the most traffic. Click “Queries” to see which search terms bring visitors to those pages. The combination of both filters reveals exactly which content is working and which isn’t. Sorting by impressions with the fewest clicks surfaces your quickest wins: pages Google already ranks that just need a better title tag or meta description to start converting impressions into visits.
What “high impressions, low clicks” is really telling you
High impressions with low clicks often points to a weak snippet. Your title tag or meta description isn’t compelling enough relative to the competing results. Rewrite the title to be more specific, more benefit-driven, or more aligned with what the searcher actually wants. Fixing these two elements is one of the fastest on-page wins available, and Search Console gives you the exact data to prioritize which pages to tackle first.
3. Coverage and Page Indexing: Finding Pages Google Can’t See
The Coverage report (labeled “Page indexing” in the current interface) shows you which of your pages are actually in Google’s index and which ones are being blocked, skipped, or ignored. A page that isn’t indexed can’t rank, period.
What the index coverage report actually shows you
Pages are split into four statuses: Error, Valid with Warning, Valid, and Excluded. “Error” means Google tried to index the page and failed. These pages are invisible in search results until you fix the underlying issue. “Excluded” is not automatically a crisis; noindex pages, paginated URLs, and duplicate canonicals often show up here intentionally.
Common exclusion reasons beginners misread
“Crawled, currently not indexed” means Google visited the page but decided it wasn’t worth adding to the index. This usually signals thin content, near-duplicate content, or a page that lacks meaningful internal links pointing to it.
“Blocked by robots.txt” is a bigger problem when it’s unintentional. This can happen after a misconfiguration, such as accidentally publishing a development robots.txt or a plugin setting that inadvertently blocks crawling. “Excluded by noindex tag” is another one that catches people off guard, especially when a CMS setting or SEO plugin applies noindex sitewide during development and nobody removes it before launch.
The key question for every excluded URL is whether the exclusion is deliberate. Pages you don’t want indexed (admin pages, thank-you pages, staging content) belong in the Excluded column. Important content pages do not.
4. Submitting Your Sitemap and Using the URL Inspection Tool
These two features give you direct control over how Google discovers and processes your content. Submitting a sitemap tells Google where all your pages are. URL Inspection lets you zoom in on any single page and get a complete diagnostic report.
How to submit an XML sitemap in Search Console
In the left sidebar, click “Sitemaps.” In the “Add a new sitemap” field, enter your sitemap path. For most sites this is sitemap.xml or sitemap_index.xml. Click Submit. Search Console will show a status column that tells you whether the sitemap was successfully fetched and how many URLs were discovered.
For official guidance on building and submitting sitemaps that Search Console expects, consult Google’s documentation on building a sitemap and best practices: build a sitemap. If you see a “couldn’t fetch” error, the file is either blocked by robots.txt, located at the wrong path, or not publicly accessible. Check that the URL loads correctly in a browser first, then rule out any robots.txt restrictions.
Using URL Inspection to diagnose individual pages
Paste any URL from your property into the Inspect bar at the top of Search Console. The report shows the page’s current index status, when Google last crawled it, the canonical URL Google selected, and any specific crawl or indexing errors. If the page isn’t indexed, the report surfaces the likely cause, whether that’s a noindex tag, a robots.txt block, a canonical conflict, or a redirect issue. Keep in mind that the tool shows detected signals rather than an exhaustive audit, so a clean report doesn’t automatically guarantee indexing. For practical use cases and deeper examples of how SEOs use the URL Inspection tool, this write-up covers typical workflows and troubleshooting scenarios: URL Inspection tool use cases.
Running a live test after making fixes
The “Test live URL” button fetches the current version of the page in real time, not the cached version Google indexed. Use this after removing a noindex tag, fixing a robots.txt rule, or updating page content. If the live test passes, click “Request indexing” to ask Google to reprocess the page sooner than its next scheduled crawl. Note that this isn’t guaranteed and the feature has usage limits, so save it for pages that genuinely need a faster turnaround.
5. Fixing the Most Common Search Console Errors
Most of the errors you’ll encounter in Search Console fall into a few predictable categories. Here’s how to resolve each one without overcomplicating it. If you prefer a full procedural approach, our internal guide on How to Run a Technical SEO Audit: A Step-by-Step Guide, AISEO Round Table walks through many of the same checks at scale.
Coverage errors: 404s, soft 404s, and server errors
A 404 means the page doesn’t exist at that URL. Decide whether it should: if the content was moved, set up a 301 redirect from the old URL to the correct destination. If it was intentionally removed, leave it as a 404 and update any internal links still pointing to it.
A soft 404 is different, the page loads but Google sees little value in it, so return either real content or a proper 404 status code. Server errors (5xx) are usually hosting or plugin issues; check your server logs, resolve the root cause, and validate the fix in Search Console once the server is stable.
Blocked pages and canonical conflicts
When a page is blocked by robots.txt, check your robots file to confirm whether the block is intentional. If the page should rank, remove or narrow the disallow rule, then re-test with the URL Inspection tool. Canonical conflicts are trickier: if Google chose a different canonical than the one you declared, it usually means the competing page has stronger signals. Strengthen your preferred canonical by using it consistently in internal links, in your sitemap, and in the canonical tag itself. For “Duplicate without user-selected canonical” errors, pick one version, add a canonical tag, and update all internal links to match.
Manual actions and structured data issues
Manual actions are rare but serious. Open the Manual Actions report, read the exact violation Google describes, fix the issue at the page or site level, then submit a reconsideration request through Search Console. For structured data errors, open the specific rich result report (Recipe, FAQ, Product, etc.), find the missing or invalid fields, add the required properties with correctly formatted values, and re-validate. The fix sequence is the same every time: identify the exact issue, correct it at the source, then ask Google to verify the change.
6. Turning Search Console Data into Your Next SEO Moves
Knowing how to use Search Console is only half the job, the other half is building a habit around it. A simple routine prevents small problems from becoming big ones and keeps your traffic trending in the right direction.
A simple weekly Search Console routine
Check the Performance report once a week and look specifically for position drops and CTR dips on your top-traffic pages. Those are the early warning signs of a problem worth investigating. Review the Coverage report once a month to catch new indexing errors before they compound into a larger visibility issue. After publishing new content, use URL Inspection to check the page and request indexing manually rather than waiting for Google to discover it on its own. Adjust this cadence based on how frequently you publish and how large your site is.
Pairing Search Console data with a keyword tool
Search Console shows you which queries already earn impressions for your site. These are validated keyword opportunities, not guesses, because Google has confirmed your content appears in results for these terms. Pulling those queries into a dedicated keyword research tool lets you find related long-tail variations, assess competition, and plan supporting content that reinforces your existing rankings. If you want to expand from there, our KWFinder review over at AISEO Round Table walks through exactly how to use impression-based queries from Search Console as the starting point for keyword expansion, a practical next step once your setup is solid.
What to track as your baseline
Before making any changes, record your starting average position, total clicks, and total impressions for the past 28 days. Revisit those numbers at the 30-day and 60-day marks to measure whether your fixes and content updates are moving the needle. One important note: Search Console data typically takes two to three days to update, so avoid drawing conclusions from numbers less than 72 hours old.
Make Search Console a Weekly Habit, Here’s How to Use Search Console Long-Term
Google Search Console is one of the few completely free tools that gives you a direct view of how Google sees your site. No third-party tool provides the same data, others can only approximate it. Setup is straightforward and shouldn’t take long once you have access to your DNS settings and CMS, and the data it provides will inform every SEO decision you make going forward.
Complete the property setup today, submit your sitemap, and bookmark the Performance and Coverage reports. Check them on a schedule. Use the URL Inspection tool whenever something doesn’t look right. Site owners who treat Search Console as a regular part of their workflow, rather than a one-time setup task, tend to catch problems earlier and respond faster when rankings shift.
For a broader look at how AI is changing search strategy and what executives should know, see Google’s AI Search Experiments: What Your C-Suite Needs to Know, AISEO Round Table.
Once Search Console is running smoothly, the logical next step is pairing its impression data with a solid keyword research workflow. AISEO Round Table has everything you need to take that step, from tool comparisons to step-by-step tutorials built specifically for non-agency users like you.