If you’ve ever wondered whether technical SEO basics are something only developers can handle, the short answer is no. The technical layer of SEO is a set of signals Google checks before it ever reads a word of your content, and most of those signals are fixable with free tools and a few hours of focused work on a small to medium site. Time varies depending on your CMS and how many issues you’re starting with, but this guide makes it approachable regardless of your technical background.
This guide walks you through exactly what the technical foundation covers, why it has to come before keyword research or link building, and how to run a compact audit on your own site starting today. By the time you finish reading, you’ll know what to look at, what to fix first, and which free tools make it achievable without any coding knowledge.
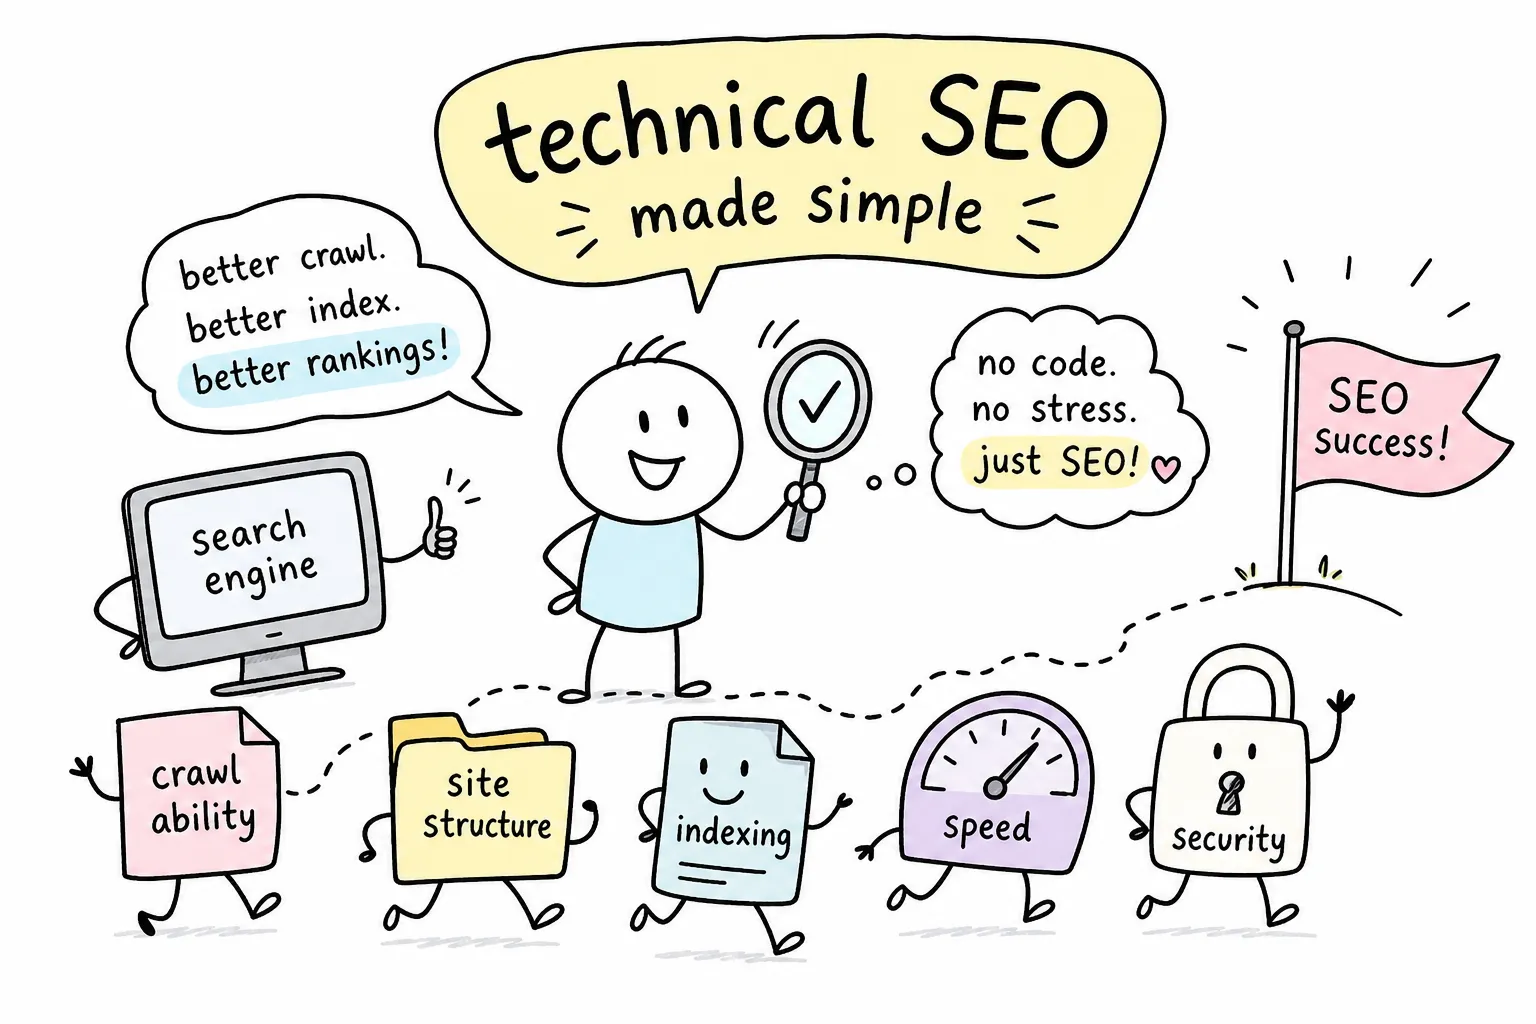
What technical SEO actually covers (and why it matters first)
Technical SEO is the set of behind-the-scenes signals that tell search engines whether a page can be found, loaded, and understood. It’s separate from on-page SEO (the words, headings, and structure on a given page) and off-page SEO (the links and mentions pointing to your site from the outside). Technical SEO is the foundation those two layers sit on, and without it, neither of them performs as expected.
Think of it this way: a well-written, thoroughly researched article on a technically broken site is like a well-printed book locked inside a library Google can’t enter. Content quality is irrelevant if the crawler can’t reach the page, render it, or decide to index it. Google cannot rank what it cannot find and process.
At Technical SEO Guides, Fixes & Website Optimization, our site reviews start at the technical layer before a single keyword or backlink enters the conversation. That’s not arbitrary, it’s an editorial process we’ve found consistently necessary. Fixing crawlability issues on a site that has been publishing content for two years can unlock ranking movement that no amount of new content would have achieved. The technical layer is the floor, and you build everything else on top of it.
Technical SEO basics: crawlability and indexing
Google uses automated bots to travel your site through links, and those bots follow rules you set. The two most important control files are your robots.txt and your XML sitemap. Understanding both takes less than ten minutes, and getting them wrong can cost you significant organic visibility.
robots.txt checks
Your robots.txt file lives at yoursite.com/robots.txt and tells crawlers which sections they’re allowed to access. The most common beginner mistake is a single line, Disallow: /, which blocks Google from your entire site. Another frequent error is accidentally blocking CSS or JavaScript files, which prevents Google from rendering your pages correctly.
Check your robots.txt right now by typing your domain followed by /robots.txt into a browser. A safe, minimal version for most sites simply reads:
User-agent: *
Allow: /
Sitemap: https://yoursite.com/sitemap.xml
That’s it. Start there before adding any restrictions.
Sitemap submission
Your XML sitemap is a direct signal to Google about which URLs you consider important. Many CMS platforms, including WordPress with common SEO plugins installed, generate one automatically. The sitemap should only include canonical, indexable URLs. Including redirect targets, noindex pages, or broken URLs sends conflicting signals and wastes crawl attention.
To submit your sitemap for the first time, go to Google Search Console, open the Sitemaps report, paste your sitemap URL (usually yoursite.com/sitemap.xml), and click Submit. Google will confirm whether it was fetched successfully and flag any processing errors.
Internal linking audit
Internal linking is often overlooked as a crawl mechanism, but it’s one of the strongest signals you control. Bots travel from page to page through links, so important pages buried three or four clicks from your homepage receive less crawl attention. Keep your most valuable pages close to the homepage and well-linked from your content, two clicks is a useful rule of thumb, not a hard requirement. To audit link depth, run your site through Screaming Frog or check the “Pages” report in Google Search Console to spot orphaned or deeply buried URLs.
HTTPS and indexation control: you decide what Google indexes
HTTPS is not optional in 2026. Google has treated it as a ranking signal for years, and browsers flag HTTP pages as “Not Secure,” which damages user trust before anyone reads a word. If your site isn’t on HTTPS yet, switching is one of the highest-impact technical fixes you can make, according to Google’s own security documentation.
Switching to HTTPS creates one common follow-up problem: mixed content errors. These happen when an HTTPS page still loads resources (images, scripts, stylesheets) over HTTP. To check for them, open your site in Chrome, press F12 to open DevTools, and look at the Console and Security tabs. Any HTTP resource loading on an HTTPS page will show as a warning. The fix is straightforward: update those resource URLs to HTTPS or switch them to relative paths.
Canonical tags give you control over which version of a URL Google ranks when duplicates or near-duplicates exist. If your homepage loads correctly as both example.com and www.example.com, canonical tags tell Google which version to treat as the preferred one. Without them, Google makes that choice for you, and it doesn’t always choose the version you want. Add a self-referencing canonical to every page, and point duplicate URLs to the original. In HTML, that looks like:
Noindex directives are the cleanest way to remove pages from Google’s index entirely. Use them for tag archive pages, admin URLs, pagination pages with thin content, or any page that exists for navigation but adds no search value. Add a noindex meta tag inside the page’s section:
Or configure it through your SEO plugin. One important rule: don’t block noindexed pages in robots.txt at the same time. If Google can’t crawl a page, it can’t read the noindex directive either.
Technical SEO basics: site speed and Core Web Vitals
Google’s Core Web Vitals are three specific measurements tied to real user experience, and they carry weight in search rankings. The three metrics are LCP (Largest Contentful Paint), which measures how fast the main content loads; INP (Interaction to Next Paint), which measures how fast the page responds to clicks or taps; and CLS (Cumulative Layout Shift), which measures how much the layout shifts while loading. The 2026 thresholds for a “good” score are LCP at 2.5 seconds or under, INP at 200 milliseconds or under, and CLS at 0.1 or less.
In practical terms: LCP is the feeling of “is this page loading or not?”, INP is the feeling of “why isn’t anything happening when I tap?”, and CLS is the frustration of trying to click a button that suddenly jumps because an image loaded above it. These are human experiences Google turned into numbers, and improving them benefits real visitors as much as it benefits your rankings.
For WordPress sites, the fastest no-developer improvements are image optimization and caching. Compress your hero image and serve it in WebP format. Make sure your above-the-fold image is not set to lazy-load, lazy loading is meant for below-the-fold media and actively delays your LCP element. Enable a caching plugin, connect a CDN, and remove any plugins you’re not actively using. For many sites with image-heavy pages and no caching configured, these changes can move a poor LCP score noticeably toward the “good” range. That said, results depend on your starting point, so measure before and after in PageSpeed Insights to confirm progress. Some sites with deeper performance issues may still need developer input.
Run your baseline check at PageSpeed Insights (pagespeed.web.dev). Paste your URL and you’ll get field data from real users alongside lab scores and specific recommendations sorted by estimated impact. The field data comes from the Chrome User Experience Report (CrUX) and reflects actual visitor conditions. Start with the top two or three suggestions and retest after implementing each one.
Structured data: helping Google understand your content
Structured data is a layer of code, typically in JSON-LD format, that tells Google exactly what type of content a page contains. Rather than inferring whether a page is a recipe, a product, an article, or an FAQ, Google reads the schema markup directly. This can trigger rich results in search (star ratings, FAQs, breadcrumbs, event times) that increase click-through rates without changing your rankings per se.
For most content sites, the highest-value schema types to add first are Article or BlogPosting for editorial content, FAQPage for pages with question-and-answer sections, and BreadcrumbList for site navigation. WordPress users can implement these through plugins like Rank Math or Yoast without writing code. To verify that Google can read your markup, paste any URL into Google’s Rich Results Test (search.google.com/test/rich-results) and check for errors or warnings.
Running your first technical SEO audit: tools and what to prioritize
Google Search Console is the starting point for any technical audit, and it’s free. The Coverage report (labeled “Indexing” in the current interface) shows you exactly which pages Google has indexed, which are excluded, and which have errors. Errors are the highest priority because they prevent indexing entirely. “Valid with warnings” pages are indexed but have issues worth investigating. “Excluded” pages may be intentionally excluded (which is fine) or accidentally excluded (which is a problem to fix).
For any individual page you’re concerned about, the URL Inspection tool is the most accurate single-page diagnostic available. Paste a URL into the search bar at the top of Search Console, and Google will tell you whether it can crawl the page, render it, index it, and what canonical URL it has assigned. If a page you expect to rank isn’t ranking, inspecting it here should be your first move.
When you have a list of issues, use a simple impact-vs-effort approach to decide what to fix first. Issues affecting many pages and blocking indexing go to the top of the list. A robots.txt rule accidentally blocking your entire blog section is more urgent than a missing meta description on three archive pages. Performance problems on your highest-traffic pages outrank CLS issues on pages that get two visits a month. Fix what affects the most visible pages first, then work down from there.
Once you’ve resolved crawl and indexation issues, the next step is connecting those newly accessible pages to real keyword opportunities. Tools like KWFinder aren’t designed for technical diagnosis, but they’re exactly what you need for that next step. A page that was previously blocked or ignored by Google is now a fresh opportunity, and the reviews and tutorials at Comprehensive Local SEO Audit Guide, AISEO Round Table cover keyword research tools like Mangools in the same plain-language format you’re reading now.
Your technical SEO basics checklist
Use this checklist each time you run a quarterly audit. It covers the core areas every non-developer can check independently:
- robots.txt: Open yoursite.com/robots.txt and confirm no important sections are blocked. Verify the sitemap path is listed.
- XML sitemap: Submit to Google Search Console and confirm it returns no errors. Remove redirects, noindex pages, and broken URLs.
- Indexing report: Check the Indexing section in Search Console for new errors or unexpected exclusions.
- URL Inspection: Spot-check your top five landing pages to confirm Google can crawl and render them correctly.
- HTTPS and mixed content: Confirm the padlock icon on your homepage and run a Chrome DevTools check for mixed content warnings.
- Canonical tags: Verify self-referencing canonicals on key pages and confirm no duplicate URL conflicts.
- Core Web Vitals: Review the Core Web Vitals report in Search Console for field data trends. Retest changed pages in PageSpeed Insights.
- Internal link depth: Confirm priority pages are accessible within a few clicks of the homepage.
- Structured data: Run key page types through the Rich Results Test and fix any validation errors.
- Noindex review: Confirm that pages intended to rank do not carry a noindex directive.
Run through this list quarterly. Use this Technical SEO Checklist for Beginners as a maintenance habit, not a launch-day task, and small issues rarely grow into large ones.
Build the foundation, then build everything else on top
Technical SEO doesn’t require a large budget or months of work, and many of the fixes covered here are genuinely no-developer territory. The areas this guide covers, crawlability, sitemaps, robots.txt, HTTPS, site speed, and structured data, are each addressable with free tools and clear steps. That said, some issues, such as server configuration problems or large-scale JavaScript rendering challenges, may eventually need a developer’s help. The good news is that most sites don’t start there.
This also isn’t a one-time project. A short technical review every quarter, checking for new indexation errors, reviewing Core Web Vitals trends, and confirming your sitemap is clean, keeps small issues from compounding into bigger problems. In our experience reviewing sites at AISEO Round Table, the ones that treat the technical layer as a recurring habit tend to outperform those that treat it as a checkbox ticked once at launch.
Once your technical foundation is solid, keyword research and content production compound much faster. Rankings that were previously blocked start moving, and content you already wrote starts earning the visibility it was always capable of earning. For step-by-step guides on the tools that support this work, the reviews and tutorials at Technical SEO Guides, Fixes & Website Optimization cover everything from Mangools to Google Search Console using the same plain-language format you just read. Start with your technical SEO basics audit today, and build from there.