You’ve spent weeks writing content, building pages, and maybe even earning a few backlinks. But your rankings are flat. Your pages aren’t showing up. Google seems to be ignoring everything you publish. The frustrating truth is that the problem often has nothing to do with your content quality. Use this technical SEO checklist to identify the silent barriers blocking Google from finding, crawling, and indexing your pages, because Google won’t send you a warning email when something breaks.
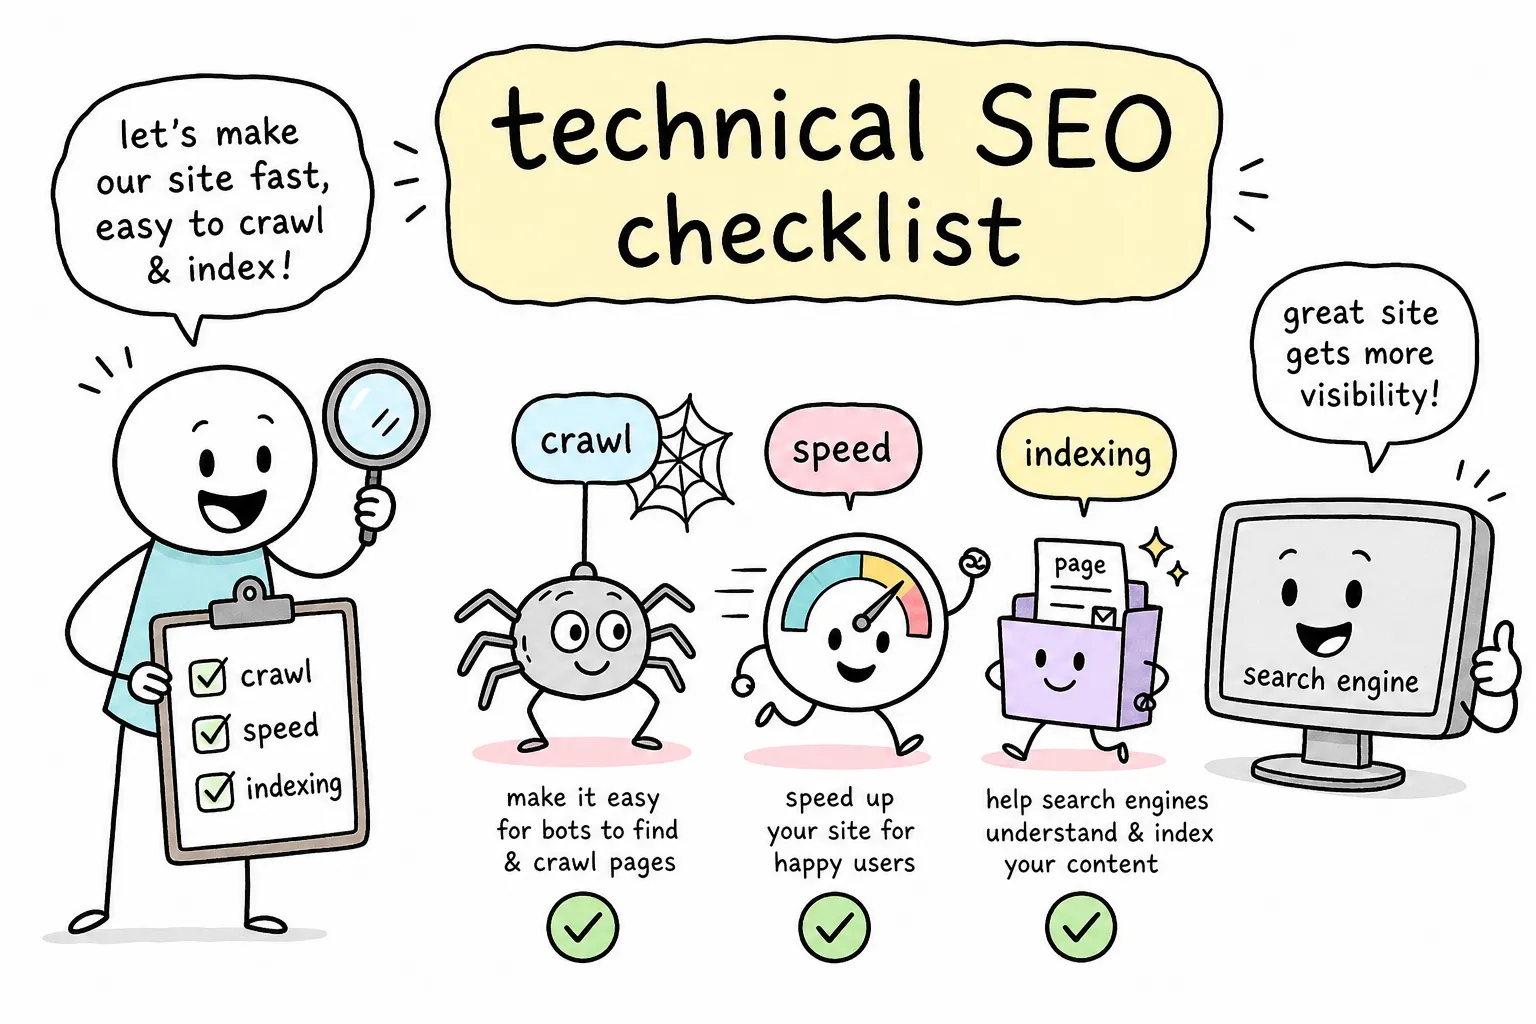
This technical SEO checklist walks you through the six most critical areas of a site-wide technical audit: crawlability, indexation, site speed, Core Web Vitals, mobile-friendliness, HTTPS, and structured data. At AISEO Round Table, we cover each of these topics in dedicated deep-dive guides, so think of this as your starting map. Once you know where the problems are, you’ll know exactly where to go next.
The best way to use this checklist is in three steps: audit first, prioritize second, fix third. Don’t try to fix everything at once. Find the blockers, rank them by impact, and work through them systematically. That approach saves time and produces faster results.
Technical SEO checklist: Crawlability & Indexation
If Google can’t access your pages, every other optimization on your site is irrelevant. Crawlability is about whether Google’s search bot (Googlebot, the automated program that scans websites) can physically reach your pages. Indexation is about whether those pages get added to Google’s search database. Both have to work before anything else matters. For a practical overview of common crawlability problems and how to diagnose them, see the SEMrush guide on crawlability issues.
Check your robots.txt file
Your robots.txt file tells search engine crawlers which pages they’re allowed to visit on your site. Navigate to yourdomain.com/robots.txt in your browser and review the rules. The most common mistake site owners make is accidentally blocking CSS or JavaScript files, which prevents Google from rendering pages correctly. If Googlebot can’t load your site’s styles and scripts, it sees a broken page and can’t evaluate your content properly. For a concise robots.txt reference and best practices, consult this practical robots.txt guide.
Here’s a minimal safe example of a robots.txt file:
User-agent: *
Disallow: /wp-admin/
Allow: /wp-admin/admin-ajax.php
Sitemap: https://yourdomain.com/sitemap.xml
Review your XML sitemap
Your sitemap is a list of pages you want Google to know about and index. Only include URLs that return a 200 status (meaning the page actually exists), are not blocked by your robots.txt, and are the canonical versions you want indexed. Submit the sitemap in Google Search Console and reference it at the bottom of your robots.txt file. A bloated sitemap full of redirected, broken, or thin pages wastes Google’s crawl attention on URLs you don’t care about, and that hurts your strongest pages.
Find and fix accidental noindex tags
A noindex tag tells Google not to include a page in search results. It’s useful for thank-you pages, admin pages, and duplicate content. It becomes a site-breaking mistake when it ends up on your product pages, blog posts, or homepage. Open Google Search Console, navigate to the Page Indexing report, and look for pages excluded by a noindex directive. If you see pages that should be ranking on that list, removing the noindex tag is one of the fastest ranking fixes available.
Fix canonical tag mismatches
A canonical tag tells Google which version of a page you consider the “official” one. Check that every page’s canonical tag points to the URL you actually want indexed, not a duplicate, a parameter version, or an HTTP URL if your site runs on HTTPS. Here’s what a correct canonical tag looks like in the page :
Canonical mismatches are one of the most common reasons pages don’t rank even when the content is strong.
Technical SEO checklist: Site Speed & Core Web Vitals
Site speed isn’t just a ranking factor. It directly determines whether a visitor stays on your page or bounces before it loads. Google’s Core Web Vitals are three specific performance metrics that measure real-user experience, not theoretical lab scores. They matter because Google evaluates them at the 75th percentile of actual visits, meaning most of your users need a good experience, not just the occasional visitor on a fast connection. If you want a deeper walkthrough, check our Core Web Vitals: Your Checklist for a Faster Site.
Understand the three Core Web Vitals thresholds
Here are the current “good” thresholds you’re aiming for:
- LCP (Largest Contentful Paint): 2.5 seconds or less. This measures how fast the main visible element on the page loads.
- INP (Interaction to Next Paint): 200 milliseconds or less. This measures how quickly the page responds when a user clicks or taps something.
- CLS (Cumulative Layout Shift): 0.1 or less. This measures how much page content shifts around while loading, which is what causes buttons to jump right before you tap them.
If your site scores in the “needs improvement” or “poor” range on any of these, Google is applying a performance penalty to your pages in the rankings. For the official definitions and how Google sets the thresholds, read Google’s article on defining Core Web Vitals thresholds.
How to test your Core Web Vitals right now
Use two free tools together for the clearest picture. Google Search Console’s Core Web Vitals report gives you sitewide field data from real users, grouped by page type. PageSpeed Insights gives you a per-page check with both real-user data and a breakdown of what’s causing each problem. Start with Search Console to find which page groups are underperforming, then use PageSpeed Insights on individual pages to diagnose the specific causes.
Quick fixes that improve site speed without a developer
Three changes produce the fastest measurable improvements for bloggers and small business owners. First, compress and resize images before uploading them, oversized images are the single most common cause of slow LCP scores. Second, enable browser caching through your hosting settings or a caching plugin, which reduces how much data returning visitors have to download. Third, remove unused plugins or third-party scripts, because every extra script loaded on the page adds response time and can tank your INP score.
Mobile-friendliness and HTTPS: the non-negotiables
These two checks are the baseline requirements every site must pass. Google uses mobile-first indexing, which means it evaluates and ranks the mobile version of your site, not the desktop version. If your mobile experience is broken, your rankings suffer regardless of how polished your desktop site looks. HTTPS is a confirmed ranking factor and a basic trust signal that visitors and browsers expect.
How to check if your site passes mobile-friendliness
Use Google Search Console’s Mobile Usability report to see site-wide mobile issues Google has already flagged. For page-level checks, run individual URLs through Google’s Mobile-Friendly Test. The most common problems are text too small to read without zooming, buttons too close together to tap accurately, and content wider than the screen causing horizontal scrolling. Most modern WordPress themes handle mobile responsiveness automatically, but it’s still worth running the check, theme settings, custom CSS, or plugins can break things in ways you won’t spot on a desktop monitor. You can also compare results against third-party tools like Seomator’s mobile-friendly test for an extra perspective.
Confirm your site is fully on HTTPS
Check that your site’s URL starts with https:// and that the HTTP version of every page redirects to the HTTPS version with a 301 redirect. The trickier issue is mixed content: this happens when a page loads over HTTPS but pulls in images, scripts, or stylesheets via an HTTP URL. Mixed content breaks the security signal even if the main URL is secure, and some browsers will flag the page as “not fully secure.” Your browser’s developer tools or an audit tool like Screaming Frog can surface mixed content warnings in minutes.
Structured data: help Google understand your content
Structured data is code you add to your pages that tells Google exactly what type of content it’s looking at: a blog post, a local business, a product review, an FAQ section. When implemented correctly, it makes your pages eligible for rich results in Google Search, which display extra information directly in the search results. That added visibility can significantly increase your click-through rate without needing to climb rankings. AISEO Round Table has a full schema implementation guide if you want step-by-step help setting this up.
Which schema types matter most for bloggers and small business owners
Start with the types that match what you already publish. Article schema works for blog posts. LocalBusiness schema is essential for any business with a physical location or service area. FAQ schema applies to any page with question-and-answer sections and can earn you extra space in search results. Product and Review schema is valuable for affiliate content and comparison pages. These four types cover the majority of use cases for most non-enterprise sites.
How to add schema without touching code
Use a schema generator tool like Google’s Structured Data Markup Helper to build the JSON-LD snippet for your page type. Here’s a minimal Article schema example:
Paste the generated code into your page header or into a plugin field if you’re using WordPress. Then validate it immediately using Google’s Rich Results Test, which confirms whether the markup is correct and which rich result types your page is eligible for. The whole process takes about 15 minutes per page type the first time.
How to prioritize your fixes: quick wins first
Running a full technical SEO audit will surface more issues than you can fix in one session. The wrong move is to tackle the hardest problems first. A simple two-category system keeps you focused: quick wins that move rankings fast, and high-effort work worth scheduling for later. If you’re new to this process, our Technical SEO Checklist for Beginners is a good companion to this guide.
The quick wins that move rankings fastest
These low-effort, high-impact fixes can often be completed in a single afternoon:
- Fix noindex errors on pages that should be indexed
- Add or correct missing canonical tags
- Submit or update your XML sitemap in Search Console
- Fix broken internal links
- Switch fully to HTTPS with proper 301 redirects
- Compress oversized images across your top pages
Because Google re-crawls sites continuously, these fixes can produce measurable improvements in impressions and rankings within a few weeks. They’re also the changes that remove the most significant barriers between your content and search visibility.
High-effort fixes worth planning for later
Core Web Vitals improvements (especially LCP and INP), structured data rollouts across all page templates, site architecture cleanup, and JavaScript rendering issues all fall into the high-effort/high-impact category. These require more time and sometimes developer involvement. The key is to plan them in focused sprints and attach one specific KPI to each fix before you start, whether that’s an improved LCP score, increased index coverage, or a higher click-through rate on pages with new schema. Without a KPI attached, you can’t confirm whether the change worked.
Tools to run your technical SEO audit
Using the right tool for the right question saves hours of guesswork. Free tools give you Google’s own view of your site. A crawler shows you what’s actually on your site that Google may or may not be seeing yet.
Free tools every site owner should start with
- Google Search Console: indexation errors, coverage issues, Core Web Vitals field data, mobile usability
- PageSpeed Insights: per-page speed score with real-user field data plus diagnosis of specific issues
- Google’s Rich Results Test: validate your structured data implementation before publishing
- Google’s Mobile-Friendly Test: confirm how Google renders individual pages on mobile
When to add a crawler like Screaming Frog
Google Search Console tells you what Google is already reporting about your site. Screaming Frog tells you what’s actually there, including problems that haven’t surfaced in Search Console yet. The free version crawls up to 500 URLs and can surface broken links, redirect chains, missing canonical tags, duplicate page titles, and pages carrying noindex tags in a single pass. For most small sites, that’s all the crawl coverage you need for a thorough on-site technical SEO audit. Run it alongside your Search Console data and you’ll have both Google’s perspective and your site’s ground truth in the same session.
Start here and keep going
Every check in this technical SEO checklist exists for the same reason: to remove barriers between your content and Google’s ability to find, understand, and rank it. Crawlability issues mean Google can’t reach your pages. Indexation errors mean those pages never enter Google’s database.
Speed and Core Web Vitals problems mean users and algorithms penalize your site before they ever read a word. Mobile and HTTPS issues mean you fail baseline requirements before content quality even enters the picture. And skipping structured data means you’re leaving free SERP real estate on the table.
Bookmark this checklist and schedule a full audit at least once a quarter. Sites change: plugins get added, pages get duplicated, redirects break, and load times creep up as content grows. A quarterly review catches problems before they compound into ranking drops. At AISEO Round Table, we publish dedicated guides on each of these areas so you can go as deep as you need to on any single topic. See our Technical SEO Guides, Fixes & Website Optimization for more deep dives.
The best place to start right now is Google Search Console. Open the Page Indexing report, find one URL that shouldn’t be excluded, identify why it’s being blocked, and fix that single issue before you close the browser. One fix today beats a perfect plan that never gets executed.